Sealing Gaps and Cracks During Cabinet Replacement
Sealing Gaps and Cracks During Cabinet Replacement: A Comprehensive Guide
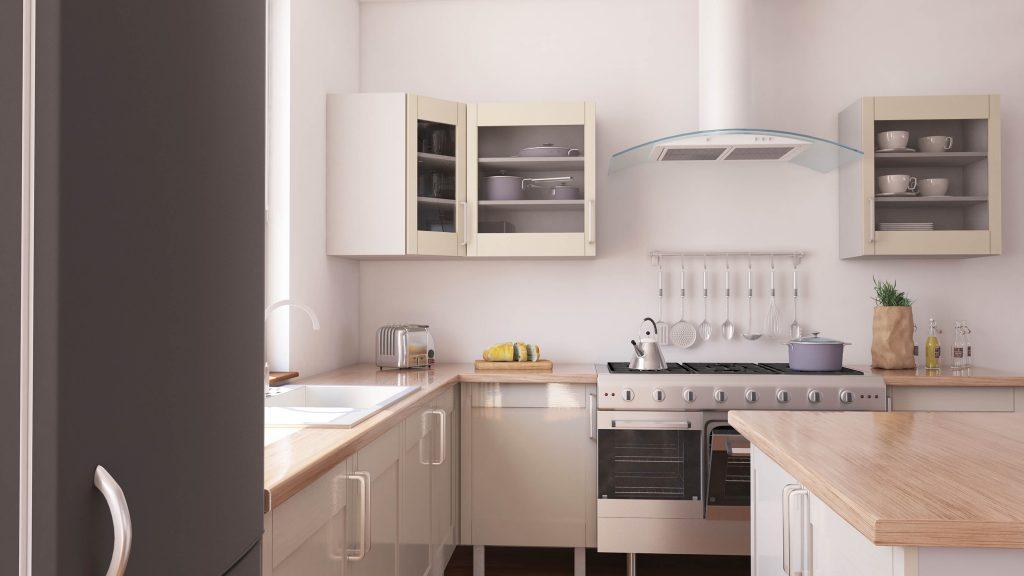
Cabinet replacement is a popular home improvement project that can transform the look and functionality of your kitchen or bathroom. However, when you remove old cabinets and install new ones, you may encounter gaps and cracks that need to be sealed for a polished and professional finish. In this comprehensive guide, we’ll address ten of the most commonly asked questions about sealing gaps and cracks during cabinet replacement.
See: Kitchen Cabinet
1. Why Do Gaps and Cracks Occur During Cabinet Replacement?
Gaps and cracks can occur during cabinet replacement due to several reasons, including uneven walls, imperfect cabinet dimensions, or variations in the floor level. It’s essential to understand the causes to effectively address and seal these gaps for a seamless installation.
When encountering uneven walls, it’s crucial to use shims to level the cabinets and create a snug fit against the wall. For irregular cabinet dimensions or floor-level variations, custom-made filler strips and trim pieces can help close the gaps and create a visually appealing result.
2. What Materials Are Needed for Sealing Gaps and Cracks?
To seal gaps and cracks during cabinet replacement, you’ll need various materials, including:
- Caulk: High-quality caulk is essential for sealing gaps between cabinets and walls, as well as seams between cabinet components.
- Wood Filler: If there are small gaps or holes in the cabinet structure, wood filler can be used to repair and fill them before painting or staining.
- Trim Pieces: Custom trim pieces, such as crown molding, baseboards, or filler strips, can be used to cover larger gaps and create a finished look.
- Shims: Shims are crucial for leveling cabinets and ensuring they align correctly on uneven walls or floors.
3. How Do I Seal Gaps Between Cabinets and Walls?
Sealing gaps between cabinets and walls is a critical step in achieving a professional look. Follow these steps:
- Measure the gaps carefully.
- Cut the tip of the caulk tube at a 45-degree angle.
- Apply a bead of caulk along the gap.
- Use a caulk smoothing tool or your finger to smooth the caulk into the gap.
- Wipe away excess caulk with a damp cloth.
Allow the caulk to dry completely before painting or finishing the cabinets.
4. Can I Use Wood Filler for Larger Gaps?
Yes, wood filler is an excellent choice for larger gaps or holes in the cabinet structure. To use wood filler:
- Clean the gap or hole to remove any debris.
- Apply the wood filler with a putty knife.
- Smooth the filler until it’s flush with the cabinet surface.
- Let the filler dry completely.
- Sand the filled area until it’s smooth and ready for painting or staining.
5. What’s the Best Way to Cover Gaps at the Ceiling or Floor?
To cover gaps at the ceiling or floor, you can use custom trim pieces such as crown molding or baseboards. Here’s how:
- Measure the length needed for the trim.
- Cut the trim to size at the appropriate angles.
- Attach the trim pieces to the cabinets using nails or adhesive.
- Fill any gaps or seams between the trim and cabinets with caulk or wood filler.
- Paint or finish the trim to match the cabinets for a cohesive look.
6. How Can I Ensure Cabinets Are Level and Aligned?
Achieving level and aligned cabinets is essential for a polished appearance. Follow these steps:
- Use a level to ensure the cabinets are straight horizontally.
- Shim the cabinets as needed to level them.
- Check for proper alignment between adjacent cabinets.
- Adjust the positioning until the cabinets are flush and even.
Taking the time to level and align your cabinets will result in a seamless installation.
7. What Precautions Should I Take When Sealing Gaps?
When sealing gaps and cracks, it’s essential to take precautions:
- Wear appropriate safety gear, such as gloves and eye protection.
- Ensure good ventilation when working with caulk or wood filler.
- Follow manufacturer instructions for all materials used.
- Double-check measurements and cuts to avoid costly mistakes.
8. Can I Paint Over Sealed Gaps and Cracks?
Yes, you can paint over sealed gaps and cracks once they have dried completely. Use paint that matches the cabinet finish to create a cohesive look. Ensure the paint adheres evenly for a seamless appearance.
9. Should I Hire a Professional for Cabinet Installation?
While DIY cabinet installation is possible, hiring a professional can ensure a flawless finish, especially when dealing with complex gap-sealing issues. Professionals have the experience and tools to handle challenging situations effectively.
10. What Maintenance Is Required After Sealing Gaps?
After sealing gaps and cracks, regular maintenance is essential to keep your cabinets looking their best. Check for any signs of wear, damage, or new gaps over time. Reapply caulk or wood filler as needed to maintain a pristine appearance.
In conclusion, sealing gaps and cracks during cabinet replacement is a crucial step in achieving a polished and professional look. By understanding the causes, using the right materials, and following proper techniques, you can transform your space and enjoy beautiful cabinets for years to come.
In this continuation of our comprehensive guide on sealing gaps and cracks during cabinet replacement, we will address additional questions and provide further insights into this important aspect of the cabinet installation process.
11. What Are Some Tips for a Neat and Clean Finish?
Achieving a neat and clean finish when sealing gaps and cracks is essential for a professional look. Here are some tips:
- Use painter’s tape to mask off areas where you don’t want caulk or filler.
- Keep a damp cloth or sponge nearby to wipe away excess caulk or wood filler before it dries.
- Ensure your caulk or wood filler application is smooth and even to minimize the need for excessive cleanup.
Taking the time to pay attention to these details can make a significant difference in the final appearance of your cabinets.
12. How Do I Match the Cabinet Finish When Sealing Gaps?
Matching the cabinet finish when sealing gaps is crucial for a seamless look. Here’s how you can do it:
- Collect Samples: Obtain small samples of the cabinet material or finish from your manufacturer or supplier.
- Test Colors: Experiment with various paint or stain colors on the samples to find the closest match.
- Custom Mix: If necessary, mix paints or stains to achieve the exact color match.
- Apply Finish: Once you have the right color, apply it to the sealed gaps or filler strips to match the cabinet finish.
13. Can I Seal Gaps and Cracks Before Installing Cabinets?
Yes, you can seal gaps and cracks before installing cabinets. In fact, it’s often easier to address these issues during the pre-installation phase. By doing so, you can work on a clean, accessible surface and ensure a seamless fit between the cabinets and walls or floors.
14. What Are Some Common Mistakes to Avoid?
Avoiding common mistakes is crucial when sealing gaps and cracks during cabinet replacement. Here are a few errors to watch out for:
- Using the Wrong Materials: Ensure you use the right type of caulk or wood filler for your specific project. Some materials may not be suitable for certain gaps or finishes.
- Skipping Surface Preparation: Properly clean and prepare surfaces before applying caulk or wood filler. Neglecting this step can lead to poor adhesion.
- Ignoring Expansion Gaps: Leave small expansion gaps between cabinet components to accommodate wood movement. Filling these gaps can lead to issues as the wood expands and contracts.
- Overusing Caulk: While caulk is useful for sealing gaps, excessive use can create a messy appearance. Apply it sparingly, and smooth it for a clean finish.
- Not Leveling Cabinets: Failing to level cabinets can result in gaps and an uneven appearance. Always take the time to level and align cabinets properly.
15. How Do I Ensure Long-Lasting Seals?
To ensure long-lasting seals, use high-quality materials, follow proper sealing techniques, and perform regular maintenance. Check the sealed areas periodically for any signs of wear, cracking, or separation. Address any issues promptly to extend the life of your cabinet installation.
16. What Should I Do if I Encounter Unforeseen Gaps or Cracks?
Sometimes, you may encounter unforeseen gaps or cracks during cabinet replacement. In such cases:
- Assess the cause of the issue.
- Determine if it’s a structural problem that needs immediate attention.
- Consult with a professional if necessary to address any significant issues.
- Use appropriate materials and techniques to seal the gaps or cracks.
Addressing unforeseen gaps or cracks promptly can help prevent more significant problems down the line.
17. Can I Seek Professional Help for Gap Sealing?
Yes, seeking professional help for gap sealing is a wise choice if you’re unsure about your DIY skills or encounter challenging issues during the installation. Professionals have the expertise to handle complex situations and ensure a flawless finish.
In conclusion, sealing gaps and cracks during cabinet replacement is a critical step in achieving a polished and professional look for your kitchen or bathroom. By following the tips and techniques outlined in this guide and addressing common questions and challenges, you can embark on your cabinet replacement project with confidence and enjoy beautiful cabinets for years to come.
Read: Understanding Various Door Designs for Kitchen Cabinets
